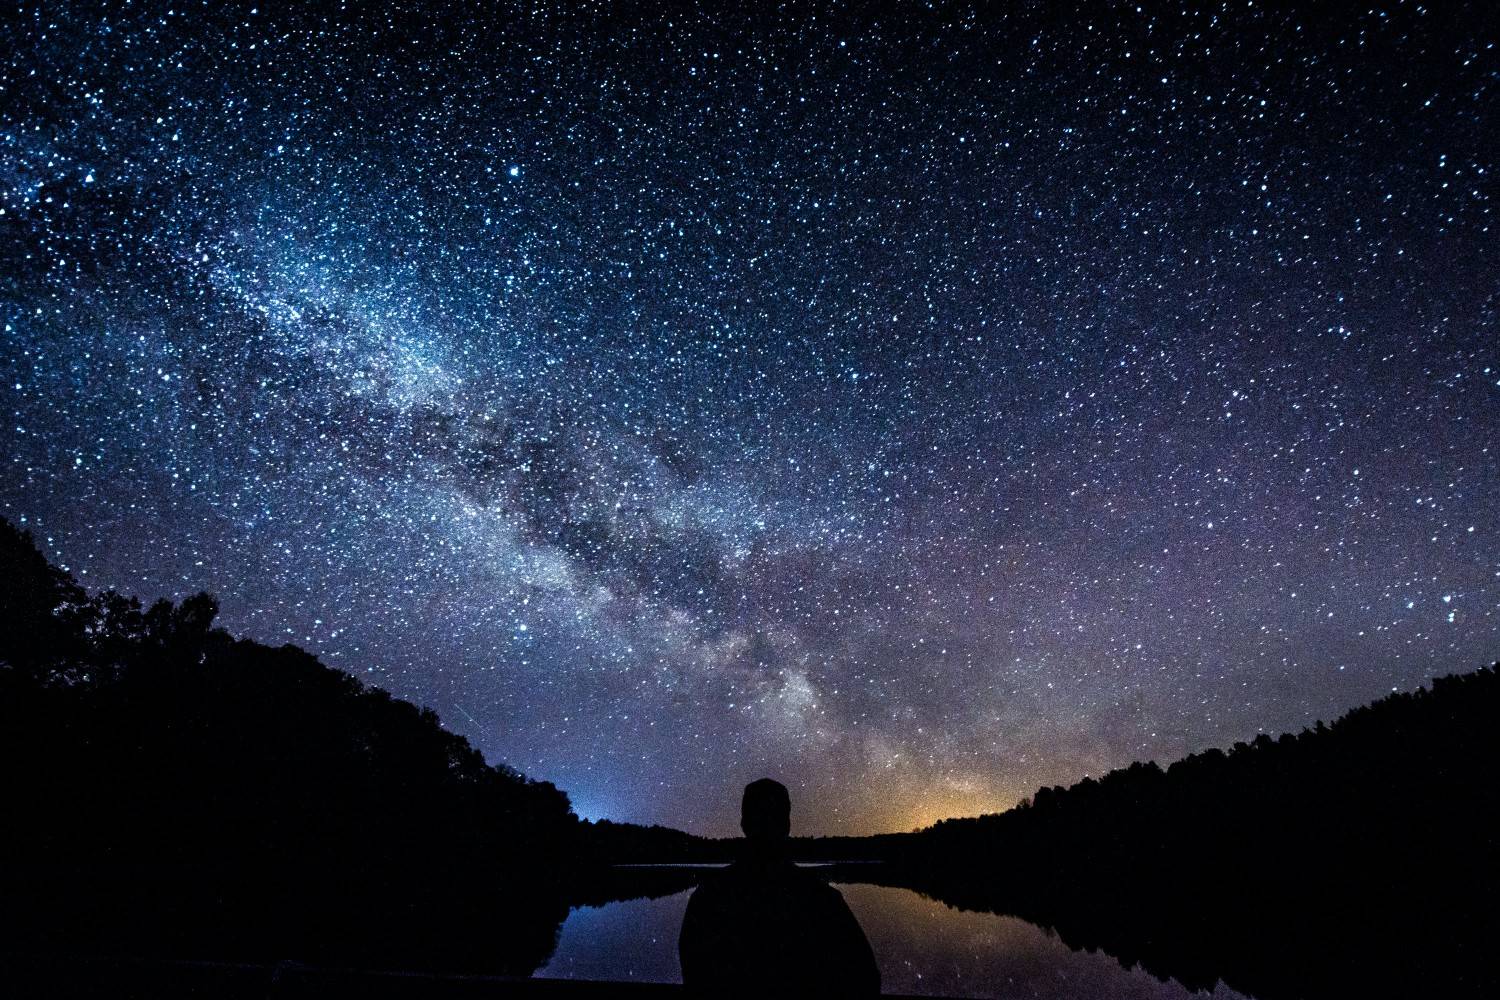
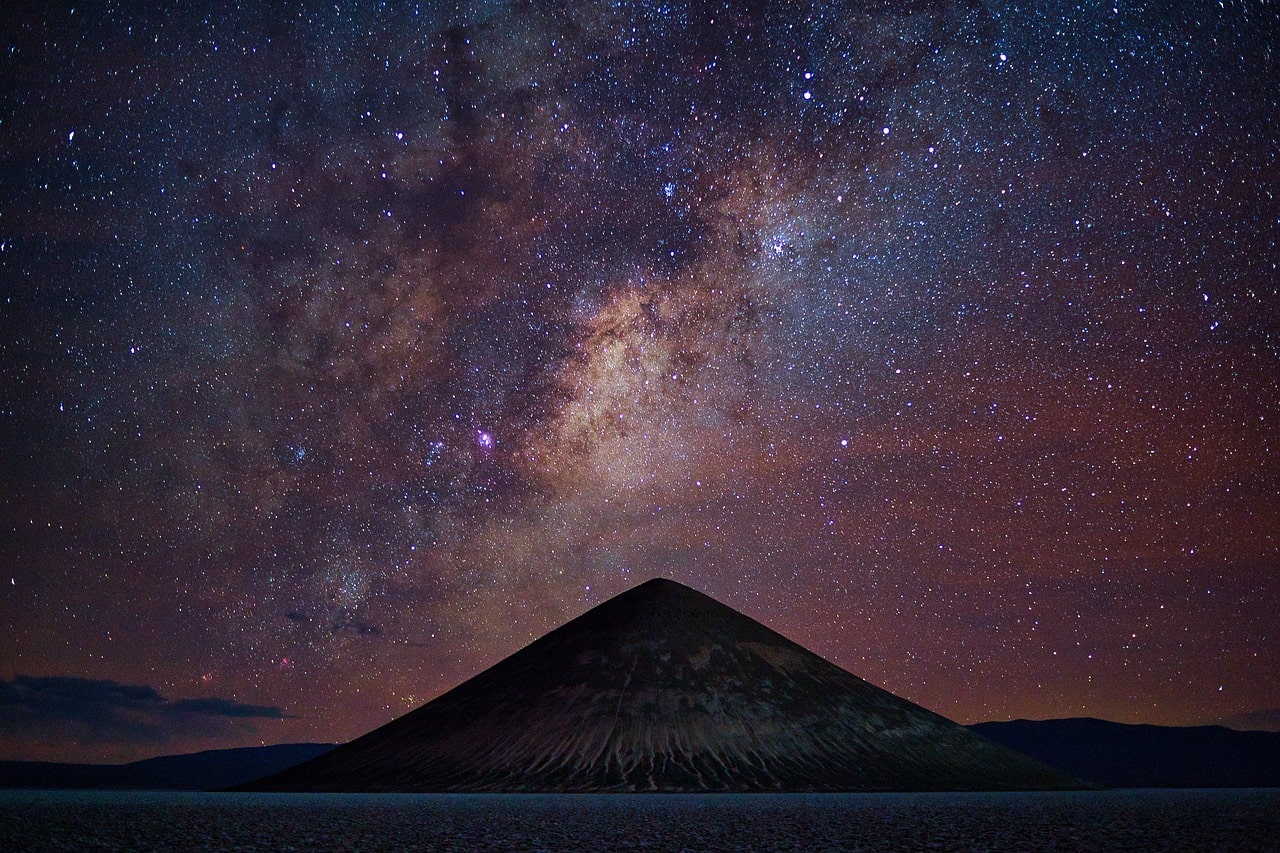
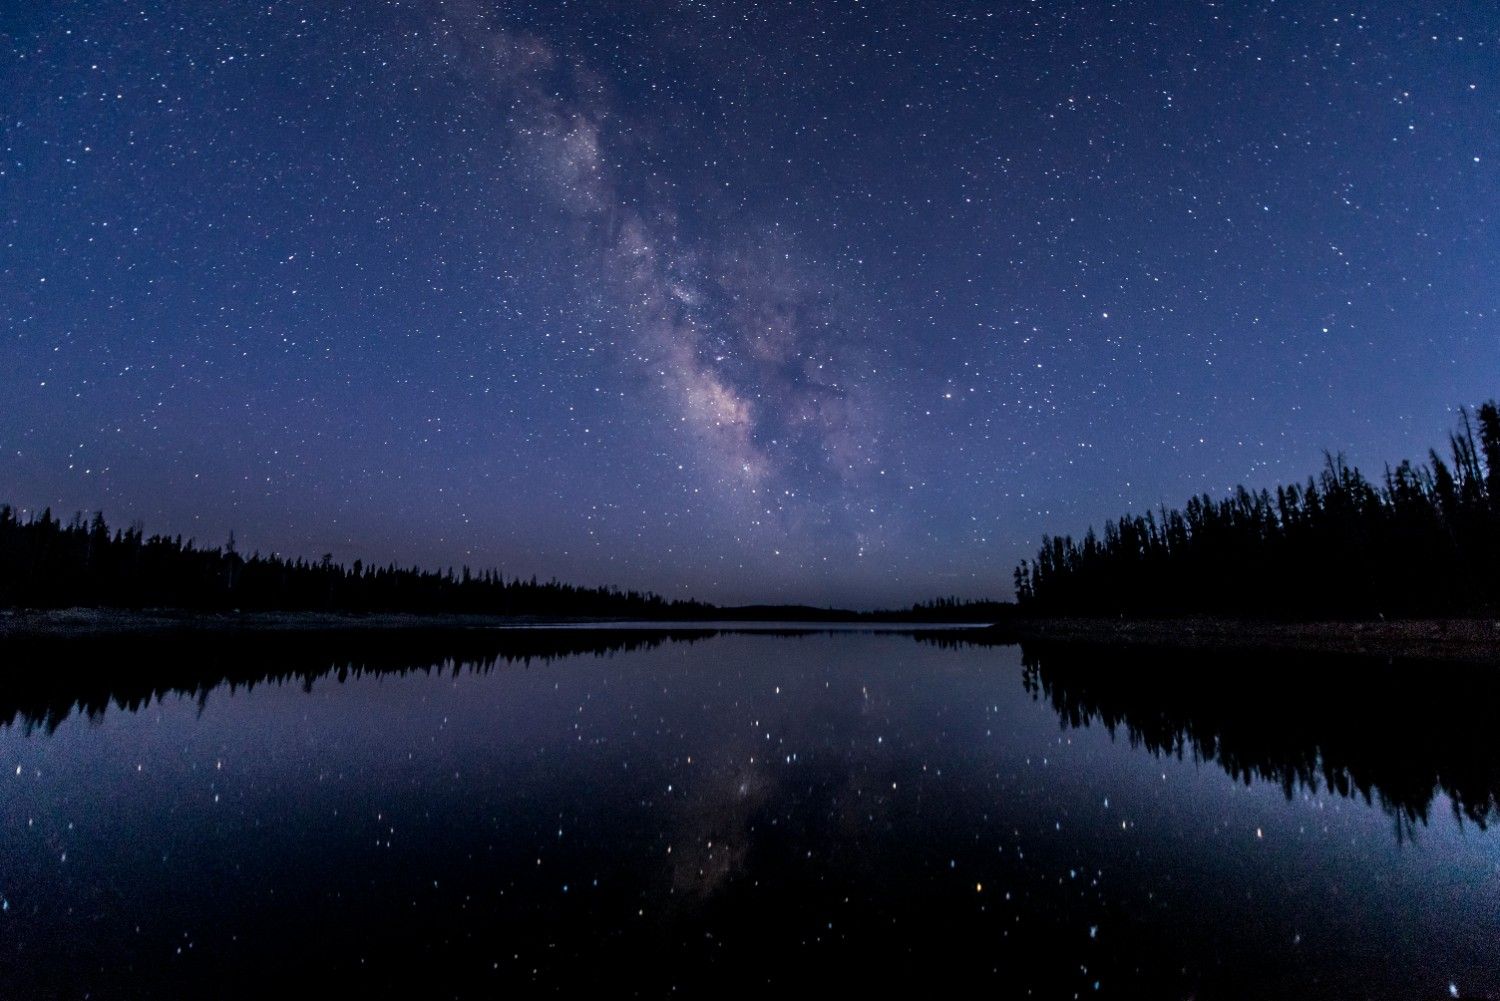
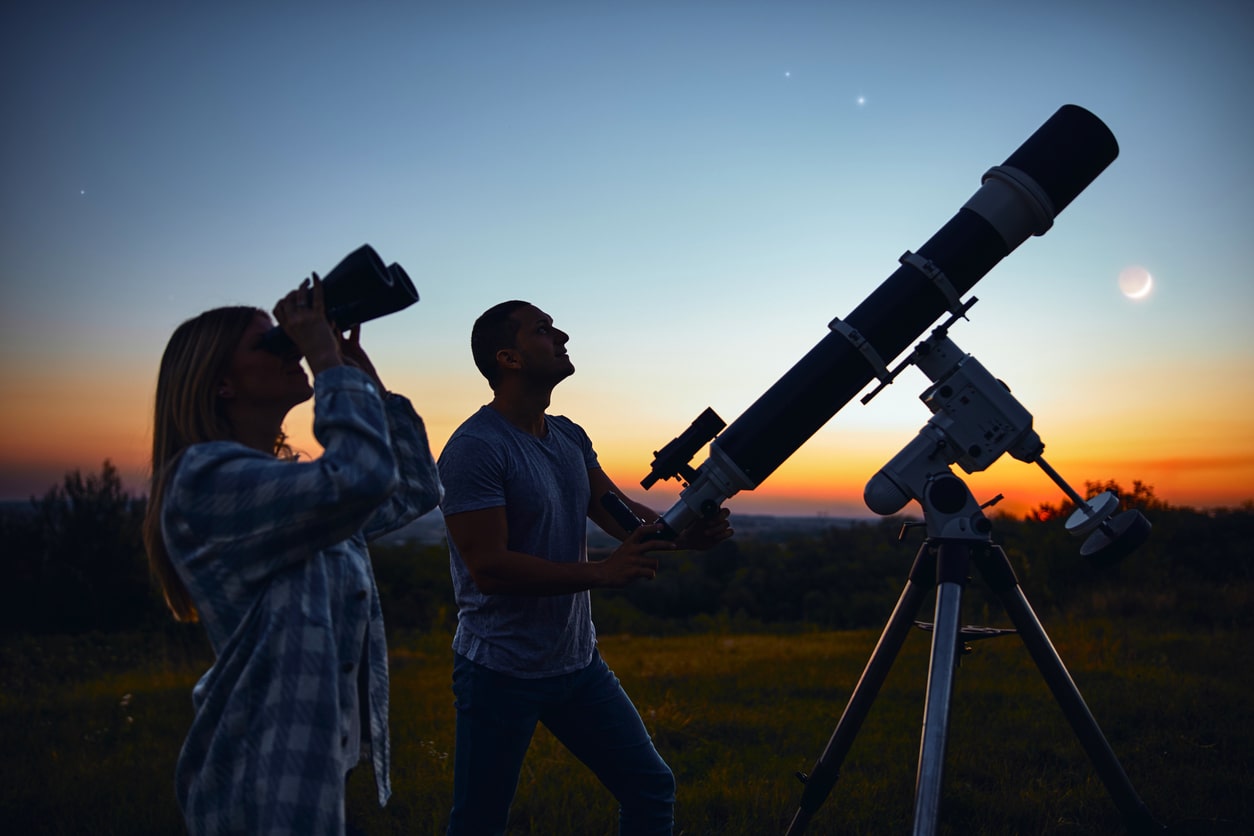
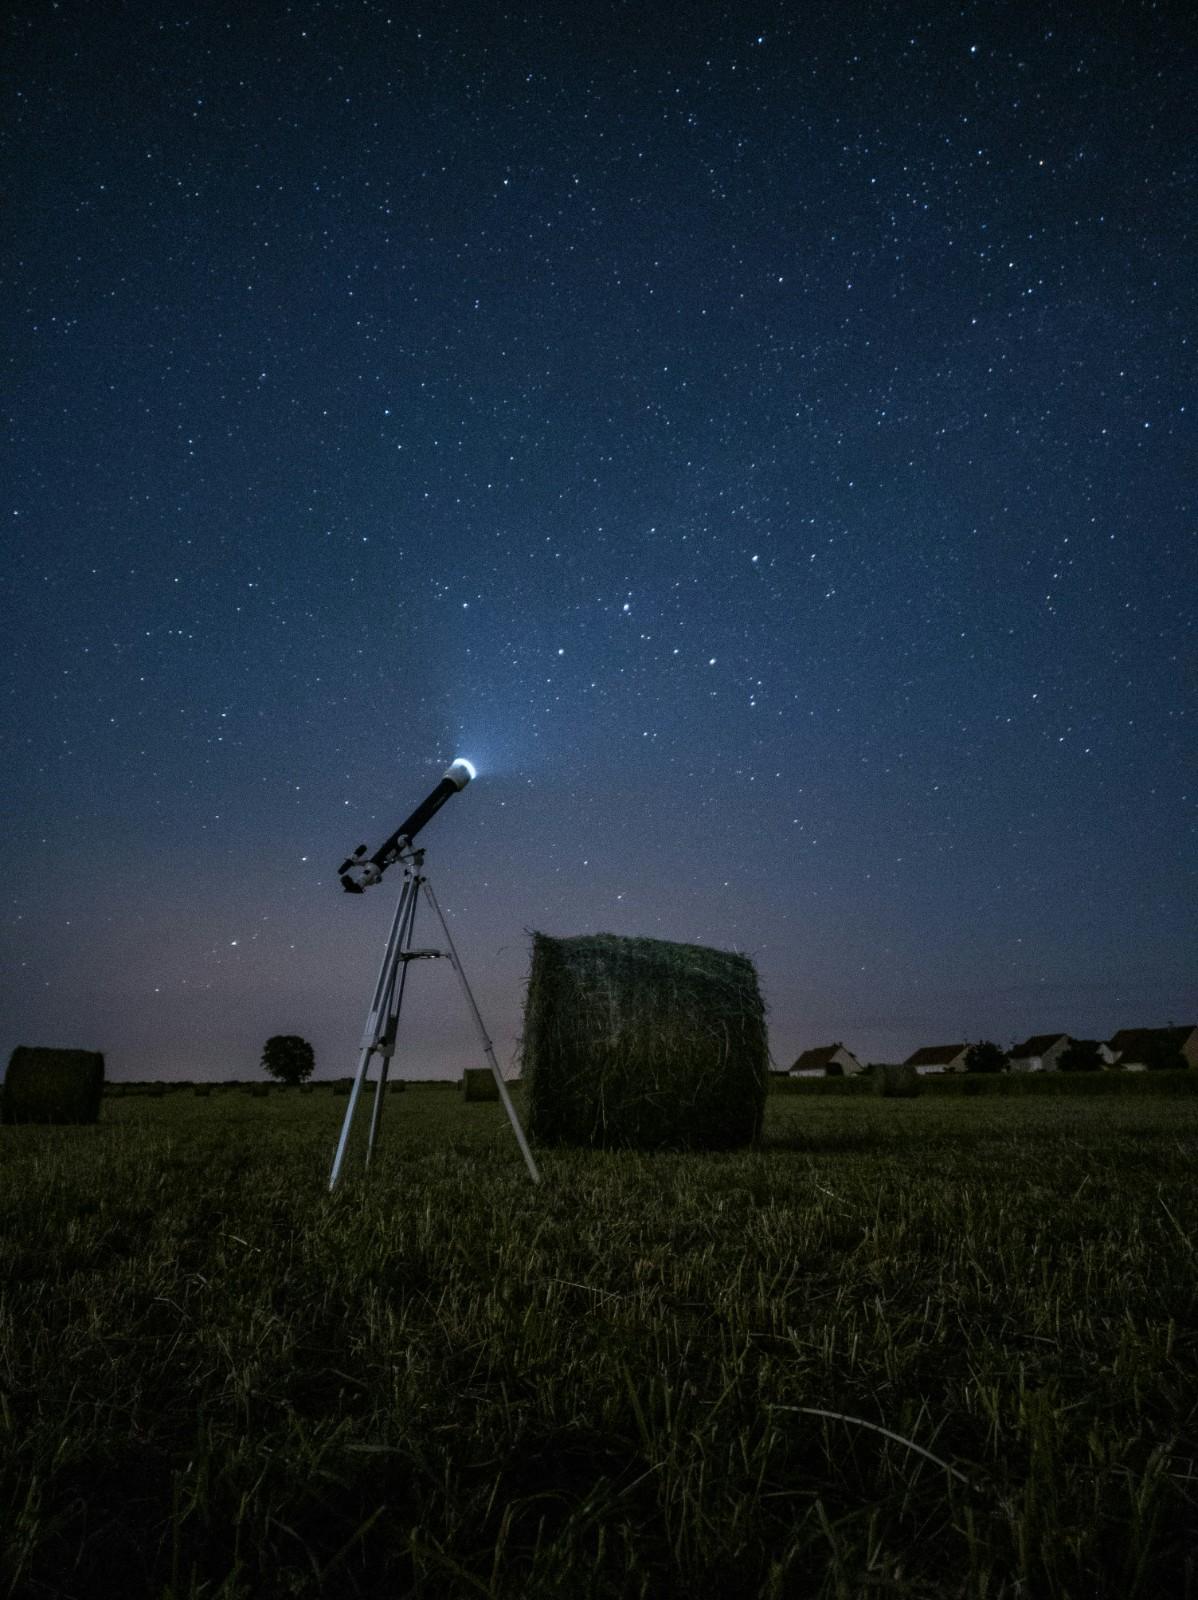
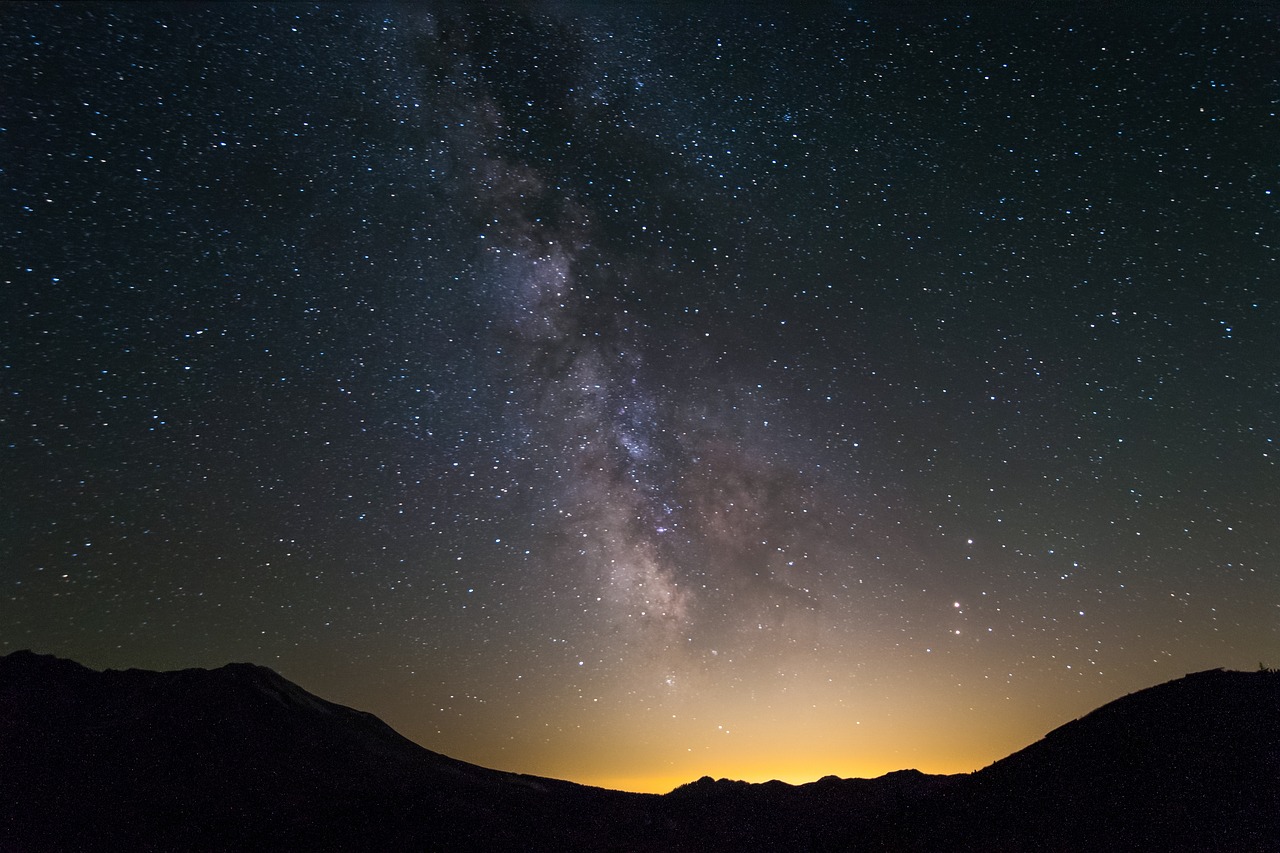
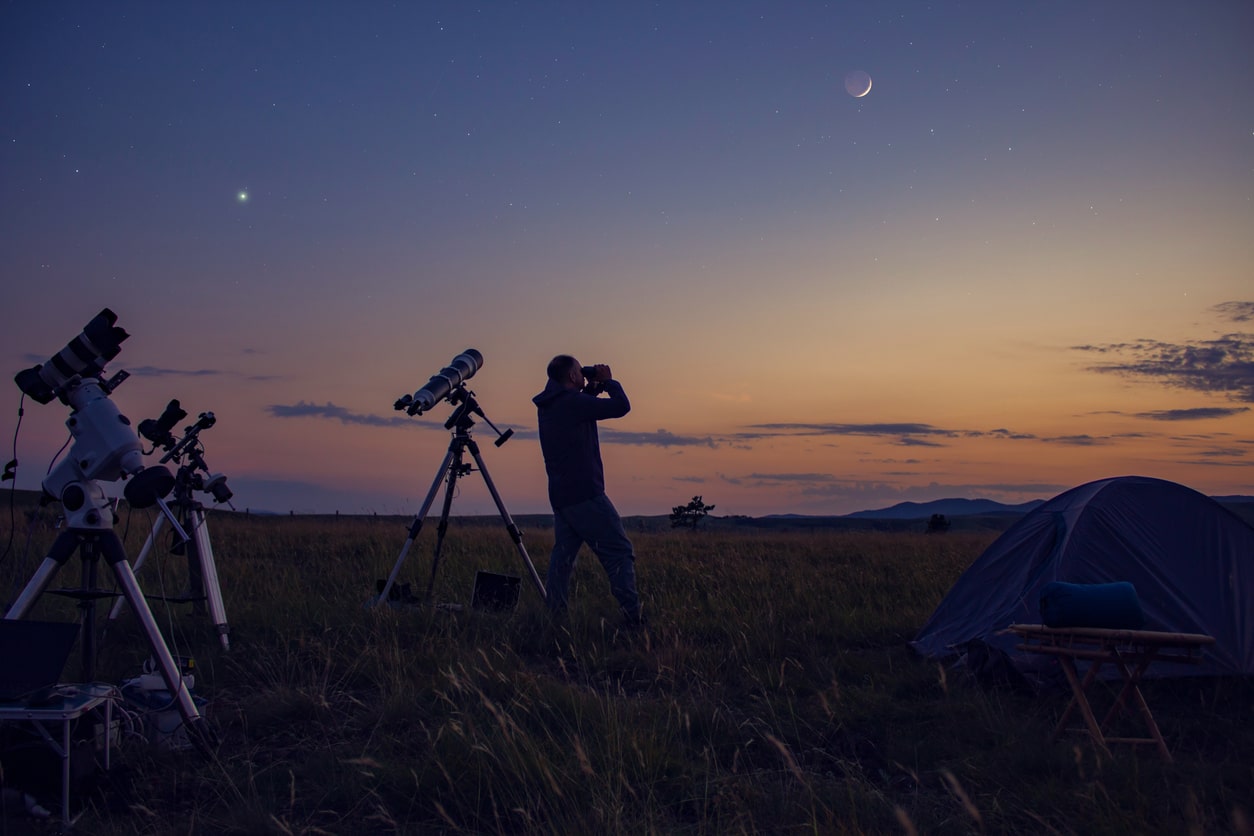
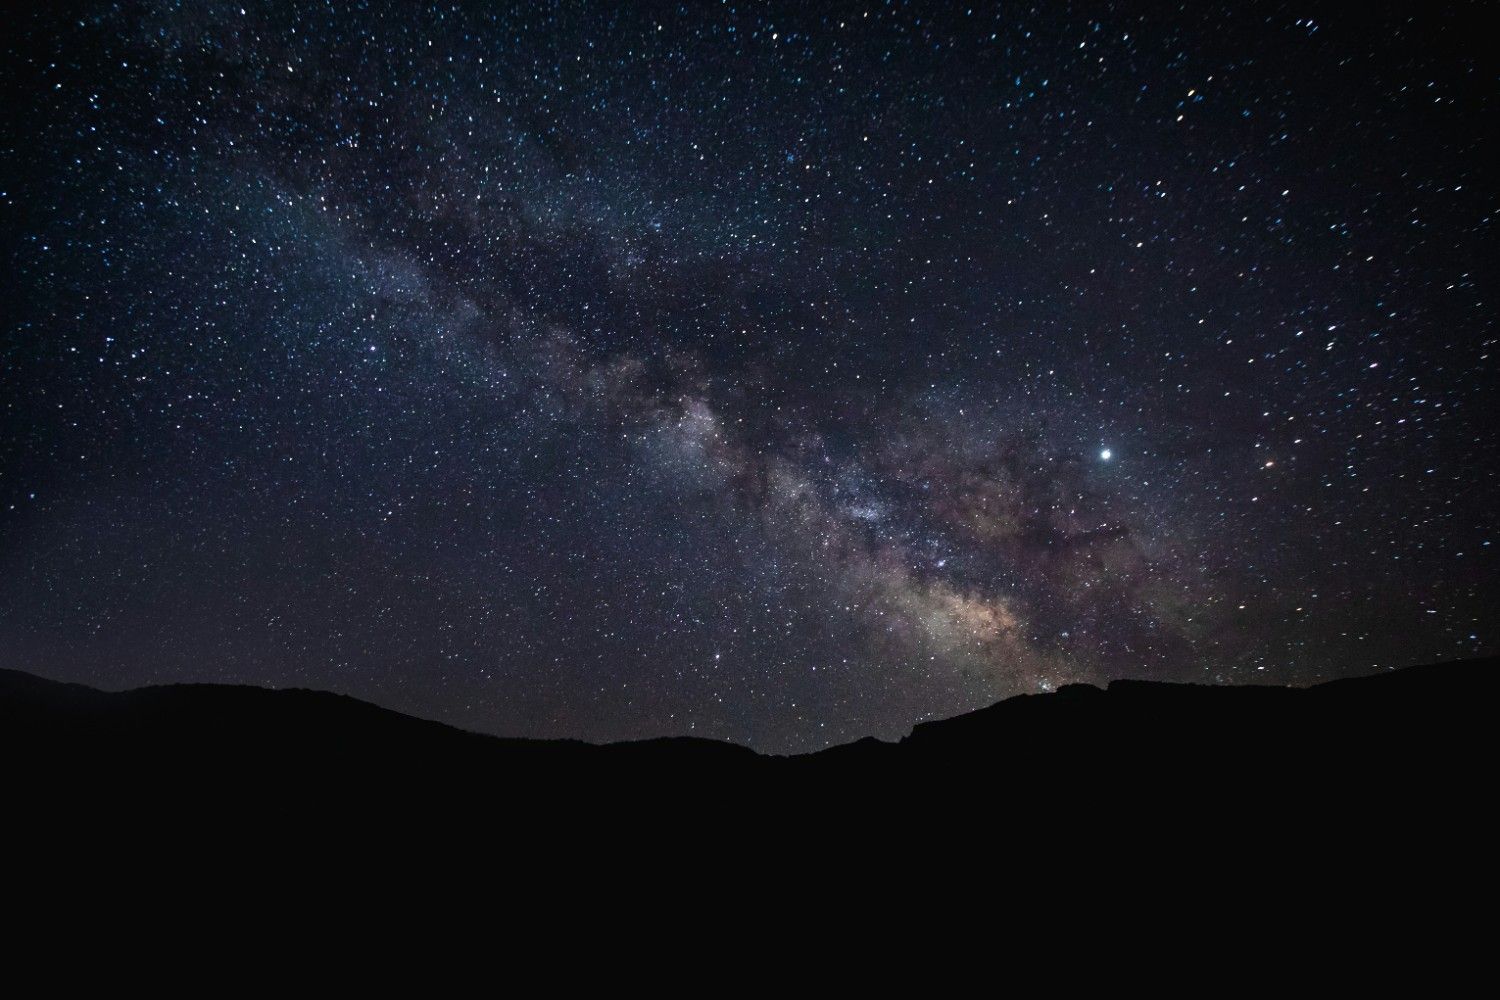
Stargazing is a popular hobby that allows people to observe the wonders of the night sky. From bright planets to faint nebulas, there is an incredible amount to see for amateur astronomers. The basics simply require looking upward on clear nights. By light-polluted cities, the moon and bright stars still shine through. But dark sky sites away from artificial lighting offer stunning vistas above with the Milky Way glowing brightly amid countless sparkling stars.
To prepare for stargazing, resources like mobile apps and monthly sky guides help identify constellations, interesting objects and events like meteor showers. Allow time for eyes to adapt to darkness. Reclining lounge chairs provide comfort. Warm clothes and mosquito repellent add convenience. While binoculars enhance observations, even the naked eye reveals fantastic sights. For optimised viewing, transportable telescopes like Dobsonians or medium refractors showcase details of moon craters, planets like Saturn with its rings, glowing gas clouds, and faraway galaxies. But a cosy blanket and thermos of hot chocolate make even simple skywatching more enjoyable! With minimal gear and preparation, recreational stargazing offers an accessible avenue to engage with the amazing cosmos.
Ideal Conditions and Locations for Stargazing
Certain conditions and locations make for the best stargazing experience. Finding a location with dark, clear night skies far from light pollution is the top priority. For most optimal viewing, moonless nights limit bright moon glare. Clear skies without clouds or haze also allow unobstructed observation - higher, dry climates fare better than muggy lowlands prone to mist or marine layers.
Winter months feature crisp air and often greater atmospheric transparency compared to warmer, more humid summer conditions. The winter sky highlights brilliant constellations like Orion and its neonatal star clusters while summer brings the rich heart of the Milky Way galaxy into view. For night owls, the clearest dark hours tend to come in the wee hours before dawn after turbulent air from daytime heating has settled. Special night sky events like annual meteor showers also make for fantastic stargazing, especially as meteor rates peak before sunrise. Sites like Meteor Crater in Arizona even host organised meteor-watching festivities.
Escaping light pollution is the number one factor for finding sweet stargazing spots. National and state parks, wilderness preserves, and dedicated dark sky sanctuaries offer some of the best areas to set up your gear. Far from city lights, these remote locations offer pristine views of the cosmos just like pre-electric cultures experienced on clear nights. For urban astronomers, seeking high elevation and shading artificial lighting helps darken the sky. Apps like Dark Sky Map pinpoint accessible dark sky sites. Perfecting your night vision and getting cosy under the stars transforms any place into your planetarium!
Optical Instruments for Stargazing and Visual Observing
From binoculars to telescopes, optical instruments enhance viewing and provide more detail of astronomical objects. Selecting the right equipment allows stargazers to get the most out of their observations based on experience level and budget.
Binoculars for Stargazing
The most basic piece of stargazing equipment is a good pair of binoculars. Binoculars gather more light than the naked eye, allowing dim objects to be seen more clearly. Many experienced stargazers recommend starting with 7x50 or 10x50 binoculars, with the numbers referring to the magnification and lens diameter in millimetres. The larger 50mm lens gathers significantly more light compared to smaller models. Other recommended specifications include fully multi-coated lenses for optimal light transmission and BAK-4 prisms for clear, high-resolution images across the entire field of view.
Popular beginner models for stargazing include the Celestron SkyMaster Giant 15x70 and the Orion 20x80 Astronomy Binoculars. These gather even more light, showing more celestial detail at a reasonable price point. However, they may be more difficult to hold steady. No matter which size you choose, binoculars offer a great way to tour the night sky before investing in a higher-end telescope.
Telescopes for Visual Observing
Once a budding astronomer wants to delve deeper into visual observation, a telescope becomes essential gear. In essence, a telescope collects light from celestial objects and brings it into focus for effective viewing and astrophotography. There are several main types - refractors, reflectors, and compound models - along with considerations like aperture, focal length, mounts, and accessories. Understanding the optics and specifications allows stargazers to choose the ideal telescope for their experience level and desired targets.
Refractor telescopes use an objective lens at the front to collect, focus, and magnify light passing through the optical tube. Common varieties include achromatic, ED (extra low dispersion), and APO (apochromatic) refractors. The higher-quality ED and APO models provide the sharpest, colour-corrected images but at a premium cost. Refractors provide crisp views well-suited to observing planets and the moon. However, the best refractors can be quite expensive for any serious aperture size. Reflector telescopes utilise a primary mirror at the rear end of the optical tube to collect and focus light to a point. The eyepiece sits at the open end. Newtonian reflectors with parabolic mirrors are the most common type. Newtonians provide good light-gathering power at a reasonable cost, making them very popular starter telescopes. However, image quality can vary widely so purchasing from a reputable brand is advisable.
Telescope Options for Astrophotography
For astrophotography using tracked telescopic imaging, a compound telescope consisting of lenses plus mirrors is often the top choice. Schmidt-Cassegrain telescopes (SCTs) are the most popular design, providing long focal lengths in a compact package along with refined optics. Maksutov-Cassegrain (MAK) and Ritchey–Chrétien telescopes offer similar benefits. These compound telescopes work by folding the optical path into a short tube, allowing for a large objective lens or mirror along with a long focal ratio for photography.
Some key specifications to consider when selecting an astronomical telescope include aperture, focal length, and focal ratio. Aperture refers to the diameter of the primary lens or mirror - the larger the aperture, the better for gathering dim light. The focal length determines the telescope's magnifying power. Divide the focal length by the aperture to obtain the focal ratio - common ratios for visual use range from f/5 to f/8 while astrophotography requires a higher ratio of at least f/10 for accurate focusing.
For telescopic viewing, features like quality optical coatings, cooling fans, tube rings, star diagonals, and finder scopes will enhance the user's stargazing experience. Astrophotographers require specialised gadgets like field flatteners, coma correctors, off-axis guiders, filter wheels, and auto focusers to produce optimal images. With so many equipment options now available, it's an exciting time for hobbyists to become backyard astronomers.
Stargazing Equipment Configurations
To gain the full experience and versatility for observation, many amateur astronomers employ different configurations suited to particular purposes. These include everything from small wide-field set-ups to large-aperture Dobsonians to premium astrophotography rigs along with the accessories to open up new realms of celestial sightseeing.
For manual visual astronomy, a basic beginner's kit typically includes an entry-level Newtonian reflector on a simple altazimuth mount along with one or two quality eyepieces. This allows easy pointing at objects high in the sky like the planets and moon. More advanced stargazers wanting to track objects that move across the sky will need an equatorial mount with motors that compensate for the Earth's rotation. To achieve fine views across a wide portion of the heavens, many observers add a small refracting telescope on its mount working in tandem with the larger reflector.
The popularity of Dobsonian reflectors continues growing rapidly among amateur astronomers seeking large apertures for reasonable prices along with excellent light grasp for observing faint nebulae and galaxies. The iconic Orion XT series epitomises the modern "light bucket" Dobsonian design. Colloquially dubbed "light buckets," these simple Newtonian reflectors on basic alt-azimuth mounts offer amazing views for hundreds of dollars less than comparable refractors. Their tabletop versions also work wonderfully as highly transportable starter telescopes.
Essential Telescope Accessories
To maximise capabilities for observation, telescopes work best with some vital accessories and add-ons tailored to the stargazer's needs. Whether enhancing views, pointing accuracy, or capturing images, optional gadgets enable astronomers at every level to accomplish more. Here is a closer look at some of the most popular accessories in an amateur’s collection.
No telescope is complete without quality eyepieces to achieve desired magnifications. For manual use, most have 1 or 2 basic oculars, but veterans recommend having 5-6 more advanced models to access differing fields of view, eye relief, and performance. Broad recommendations are to get focal lengths from about 6mm to 40mm based on the telescope’s specs. Zoom eyepieces provide variable magnification in one unit but generally can’t match dedicated oculars for sharpness across the entire range.
For a telescope aimed manually, a finder scope serves as the pointing tool to accurately locate objects. Models like the Orion EZ Finder II provide an easier sighting reference versus basic dots or crosshairs. Right-angle viewing finders allow comfortable searching while gazing upward. Dual-function finders combining a red dot sight and a small telescope afford using both quick alignment and higher magnification pointing.
Astrophotography Equipment and Setups
Specialised gear takes astronomical imaging to new heights. Equatorial mounts, cameras, filters and accessories transform basic telescopes into advanced astrophotography platforms. This section looks at equipment to capture nebulae, galaxies and planets in stunning detail. From beginner setups to elaborate configurations, photographic instruments enable vivid astrophotography.
Astrophotography Accessories
Photographers in particular benefit from more advanced accessories that extend a basic telescope’s capabilities through enhanced tracking, filtering, adjusting focus and more. To gain experience with imaging, starter options include smartphone adapters, afocal method photography using an eyepiece, and prime focus photography employing a low-power eyepiece screwed into the focuser drawtube.
As skills progress, equatorial tracking mounts become essential photography tools. While some alt-azimuth mounts have the option to add motorised tracking, equatorial mounts designed specifically for photography produce the best results. Sturdy mounts compensate for the Earth's rotation allowing longer exposure imaging while minimising star trails. Further adding autoguiding maximises tracking accuracy.
Special-purpose filters also help astrophotographers optimise detail, contrast, and colour reproduction. Broadband light pollution filters thread onto the bottom of eyepiece barrels to enhance observation from urban areas washed out by artificial lighting. Narrowband filters for nebula photography transmit specific wavelengths emitted by
gases to boost the detail of these deep sky objects. Infrared cut filters help bring out the vibrant hues of emission nebula along with preventing unwanted heat signals.
Astrophotography Cameras
Connecting a camera takes astronomical imaging to new heights. Standard DSLR and mirrorless camera bodies offer affordable options for photographers getting started with telescope astrophotography. Their sensitivity and interchangeable lens compatibility provide advanced control over imaging. Specialised astronomical cameras take this even further with sensors optimised for gathering faint signals.
Cooled CCD cameras with high quantum efficiency represent the pinnacle for amateur and professional use. Models tailored to astrophotography provide regulated sensor cooling to minimise thermal noise along with astronomy-specific controls and inputs to automate and process imaging. Top choices like the ZWO ASI2600 line and QHY 600 range rival research-grade instruments yet sell at consumer price points.
One cutting-edge option utilises mono CMOS cameras which, unlike DSLRs with colour-filtering Bayer matrices, provide sensor elements detecting light individually without interpolation losses and artefacts. Paired with filter wheels rotating narrowband filters, awesome images can be produced with even small amateur telescopes. With prices dropping rapidly on these specialised cameras while capabilities soar, mono CMOS models open new realms to dedicated backyard astronomers seeking premium results.
Advanced Astrophotography Setups
On the high end, experienced astrophotographers build elaborate set-ups for seriously clear and aesthetic images. The basic components include an equatorial mount able to precisely track the night sky. Attached is a fast focal ratio Newtonian or RC (Ritchey-Chrétien) optical tube specially corrected for photography along with a coma corrector and field flattener at the rear cell. Guiding is controlled by an independent guide scope and a specialised off-axis camera that feeds corrections to the mount.
Further accessories likely include a motorised focuser, filter wheel for narrowband imaging, guide camera, precision intervalometer to control exposures, and a computer running specialised astronomy apps. With their mounts computerised and optimised for accurate goto pointing and tracking, such set-ups represent the state-of-the-art for amateur astronomical imaging.
In between beginner kits and expert astrophotography gear lies a range of quality telescopes well-suited to visual observation. These include Maksutov–Cassegrain and Schmidt–Cassegrain designs appreciated for their compactness, optical excellence, and versatility. Their optical tubes can even be mounted piggybacked on equatorial platforms for basic wide-field photography.
Related articles

Let us know you agree to cookies
We use marketing, analytical and functional cookies as well as similar technologies to give you the best experience. Third parties, including social media platforms, often place tracking cookies on our site to show you personalised adverts outside of our website.
We store your cookie preferences for two years and you can edit your preferences via ‘manage cookies’ or through the cookie policy at the bottom of every page. For more information, please see our cookie policy.
